Thursday, July 14, 2011

Project "Black Strat" : Step 4 - Blacking Out The Body

I finally got the Highway One Stratocaster body delivered by FedEx (actually a day earlier than anticipated). It was packed very nicely & sturdy again just like my last Telecaster Body and was in pristine condition. The pictures did NOT do this body justice. The Matte Black Nitro finish looks AMAZING (though still had a peculiar smell to it) and while 'Matte Black' describes the color technically, I would say calling it a 'Stealth Black' would be a more vivid description since "matte" draws connotations of 'dull' & lifeless, while this is VERY sharp looking .


I started out with the tremolo cover on the back. The original was an 'off white' (wonder if this is what they call 'parchment') and was 1 ply, but had no beveled edges giving it a '25 cent afterthought' look. I simply took the screws out, put the new cover in place and put the screws back in.

The Stock Tremolo Cover

Work in Progress

 
1 Ply & Beveled Black Matte Cover
I had ordered the cover with the 6 individual slots for the strings vs the one large opening since I preferred the look of it. The holes don't line 100% though so I might change it out for the slotted version eventually if changing strings proves to be a hassle with this setup.

Next was the front. I had done this kind of tear-down many times before on my old Squier Strat so It was an easy job I did over lunch-time. First I simply took off the 5-Way Switch Knob, and the Volume & Tone Knobs. Some of them were a little stubborn so they needed a little convincing. I wasn't going to re-use them , nor could I get anything thin enough under them (like the common plastic bag or shoe string trick) because they were so low, so I simple grabbed them firmly with some pliers and off they came (and surprisingly with no damage what so ever ;) )

Then it was on to the 11 pickguard screws. If I didn't already have carpal-tunnel this would surely give it to you! (then again I was using a small screwdriver vs say an electric one because I wanted to make sure there were no slips of the tool causing scratches etc). I lifted up the pickguard to take a look under the hood. There was some kind of writing on the pickups (72706 or something) that I couldn't quite decipher. There was a lot more shielding in the stock pickguard than the new Warmoth one, but I figure I'll try it out and if it hums too much I'll simple add some shielding on the back of the pickguard at that time.


There also was a bar code in the body with "C00643251" stamped on it. Not sure if this is the serial number or model or what else.

Then I simply proceeded to disconnect everything from the pickguard until I was left with just the body & electronics as shown here.


After this I simply swapped the pickup covers and started to re-assemble everything in the reverse order of how I had just taken it apart , but on to the new black 1-ply beveled pickguard. A few minutes later I was looking at this beautiful 'stealthy' looking guitar


I think I may also swap out the pickup screws & the screws for the 5 way switch since those are the only screws on the pickguard right now that still look nickel/chrome.

Now I just need to wait for Brian Mason of Mason Custom Guitars to get back to me on the Neck so I can wrap this build up!

Wednesday, July 13, 2011

Project "Black Strat" : Step 3 - Other Parts

While waiting I decided to take care of the other needed components. I always like supporting local vendors if possible (though sales taxes etc are a pain) but Warmoth has treated me very well in the past and I knew they made great pickguards from past experience. I went through the site and ordered a 0.09" Black Matte Beveled 11-Hole Stratocaster Pickguard (3 single coils) and ALSO a tremolo cover from the same material, including a dozen black pickguard screws. This does leave the back trem cover to use the 'normal' chrome screws, but I think that will actually be a nice little hint of chrome in the all black back end of the guitar.


Lastly I'd need a Genuine Fender Blackout Accessoiry Kit to swap out all the knobs & switch tips etc and a neck plate of sorts. Fender Part Number: 0991363000. I had used the "70s" style neckplate on my Tele which has the Big Fender 'F' on the back and I really liked that one so why not put the same one of this Strat. Fender Part Number: 0991448100. I know I could've gotten 'allparts' or some other brand cheaper, but I want to keep as much as possible real 'Fender' (All-Parts Necks are in essence "Fender Japan" so I really like those). The pickguard was simply not a Fender option hence why I went through Warmoth on that.

Tuesday, July 12, 2011

Project "Black Strat" : Step 2 - The Neck

For the neck of any guitar I normally like a 'pale maple' neck - the black on black almost demands a more intense color like the Gilmour strat.
That Neck just pops and looks very classy.  Also I wanted a 'modern' headstock (not a 70s style as is common on some of the re-issue/newer cheaper models) and since I loved the new V-Shaped 7.5" radius neck on my Telecaster I really wanted the same neck. From my previous search for the Telecaster Neck I had already found out that All-Parts (who made my Tele Neck) makes the same neck for a Stratocaster AND they also offer it in a Nitro Finish, giving it that rich gold color.
The 'Perfect' Neck for project "Black Strat" - SMNF-V
Of course the only downside is having the truss-rod adjustment in the heel (it is 'vintage' after all), but I can live with that.

I got back in touch with Brian Mason (Atrox) of Mason Custom Guitars and told him I was looking to get a SMNF-V Neck with some kind of graphite nut either standard Gotoh or Schaller Locking tuners (both the modern kind). While the vintage tuners on my Telecaster are Great, I wanted to go for a certain look and having the large 'flange'/nut on the tuner is part of it. For the Nut, though Initially I wanted a black graphite one I have since changed my mind and am back with a 'white' bone or graphtech nut since I feel the black would stand out too much on the neck.

Project "Black Strat" : Step 1 - The Body

After my recent new Telecaster body acquisition the guitar-bug got me good (it was so bad I even started venturing over to the dark-side and was contemplating buying some kind of Les Paul..... but I snapped myself out of it ) and I wanted MORE.. so why not go for on my projects I had been putting off for ages:

I currently only have 1 Stratocaster and I always figured at one point I'd at least add another Black on Black one with a maple neck - much like my original Squier guitar which was blacked out with a nice maple neck much like this one:


Obviously this would require some modding to whatever guitar I'd get since I'd want:

  • Single Ply Beveled Black Pickguard with Black Pickguard Screws
  • Black Pickup Covers
  • Black Knobs / Switch Tips / Tremolo Arm Tip
  • Black Tremolo cover
  • Maple Neck.
  • Pick-ups I wasn't sure one.. maybe stock if they're decent, or maybe some Lace Sensors..
I figured I'd start out a basic Black/White Pickguard Stratocaster and swap out all the plastic stuff and then take it from there or perhaps start with just a bare body and buy everything separately. Though I had fond memories of my original Squier, I just couldn't bring myself to use one (or a body of one) for this new build. I figured an American Strat would be too much for something like this so I had resigned myself to a MIM Stratocaster guitar or body.


Having had some good luck with the Telecaster Blacktop , I head back to Ebay to see what's being offered there as far as bodies goes, since new MIM Strats are right around $500 nowadays which was more than I was willing to pay when I would effectively just be using the body & electronics.(and I didn't fee like getting a scratched up one 2nd hand).

At first I actually was surprised to find some decent auctions on a normal Black USA Strat Body. Similar buy-me-now items were priced much higher at around 300. While in my experience the Mexican made Fenders are EXCELLENT (and would by another MIM tele/strat in a heartbeat if I could) I figured I might as well spring for a US Made as a nice upgrade to begin with. After looking some more though I found a Nitro body from a Highway One Stratocaster as well and the Matte Black looked really sharp so I figured I Might as well bid on those as well.  I Started to recall that my pickguard on my old Squier actually was a matte black as well instead of gloss , which looked amazing, so I thought: Why not make a whole 'matte' guitar?

I needed to find out more about these Highway One Stratocasters with their Nitro matte Black bodies so I spend a good amount of time reading online. It turned out that these were the cheapest American made strats nowadays but overall it really sounded like a nice 'starting platform' for a build. I didn't care much for the original Highway 1 necks since they looked too plasticy & a weird dull color and the black tuners just didn't do it for me either. (I Like a 'classy' black guitar - not a goth black ). I decided the Highway One Body was the way to go for me.

As I was outbid on all the empty bodies I was bidding on (all three of them - I started at a low max bid) I started to look for what a 'loaded' Highway 1 body would run. I needed all the internals etc anyway, and this way it would save me having to solder everything, buy individual pickups (and figure out which ones I want) Again pricing out what individual parts would run me it seemed obvious that It would basically be cheaper to get the whole loaded body and deal with the small cosmetic changes. (3x single pickups can easily run 250 bucks alone - and empty bodies with 'Buy it now' prices were already over that as well.)

I found several in the Matte black and was just ready to pull the trigger on one that was listed for a 'buy it now' when I read in the fine print that while the body was 'brand new' it didn't even include the Tremolo arm.. What the heck?? oh there's an Upcharge for THAT? and HOW MUCH did you say wanted for that??? Seriously?? A quick search found another one this time WITH the tremolo, and listed for LESS with a 'Make me an offer' price. I had never used this feature before &I don't like to haggle, but I'm also fair in my pricing so I entered what I felt was a solid price. The Seller agreed because within an hour I had gotten confirmation I had 'won' the item. A quick payment and the waiting begun for the Fedex truck to get here from across the country with this beauty:


Monday, July 11, 2011

Telecaster BlackTop HH

After my last adventure installing a new neck on my Telecaster I was obviously left with an orphaned neck. What to do, what to do... Just keep it as a spare part... seems like a waste.. Sell it for some cash to offset the purchasing of the new neck! hmm...seems like a hassle.. Ok.. what's left then? Oh yeah get ANOTHER body for this neck!

To me, guitars are one of a few things you can NEVER have enough of, so what the hell and let's build another Telecaster. Now the first decision to make is obviously : do you want to build it totally from scratch from the ground up, or just find a 'take-off' body so all you have to do is screw on the neck?
I started doing a little digging and pricing things out and it just didn't make any sense to start totally from scratch. I would have to buy everything down to the pickguard, strap mounts etc and with some decent pickups the cost started to go past that of a whole new guitar.

Wanting to keep this a budget build ,just for something 'fun', I had to figure out how much I did want to spend. I noticed people were selling original necks for around $200 or so on Ebay, so I figured with a MIM Tele running about 499 nowadays, if I could find a body that was loaded for less than 300 I would be sitting pretty good. A LOT of bodies that were 'loaded' were being sold for 400 (buy it now) or more and I just didn't want to touch that, so instead I ventured into the actual 'auction' world on ebay for the first time.

As I was searching by price I found several decently priced Telecaster HH BlackTop bodies for sale. A quick readup on the model showed it to be basically a Double Humbucker Mexican Tele. Not totally what I was going for since I was really looking for a 'standard' tele setup, but it looked cool. One in particular was still only at $150 when I first saw so I entered the bidding process. The next few days people kept bidding on it and I had to keep raising my max bid since I was outbid a few times. Finally the auction closing day came and I had noted the auction was going to expire at 10:25am.. as I checked throughout the morning I was still in the lead until about 10:00AM.. oh no! Someone made a higher bid! Not a last minute bidding war! I upped my max bid a decent amount and took the lead again..As the time kept ticking away nothing else seemed to be happening and voila it was mine. A quick paypal payment later and the item was being shipped same day by USPS..


Now the waiting began. Luckily it was being shipped just from 1 state over so it shouldn't take that long. Of course USPS is horrible with it's tracking and me checking every 15 minutes like someone with OCD didn't make it go any faster. Finally I received the delivery. It was packaged VERY well with lots of bubble wrap and double boxed. The body was in pristine condition with the plastic still even on the pickguard (though a few visible 'smudges/scratches' on the plastic cover showing someone had at least tried the guitar when the neck was still attached to it). Overall - GREAT purchasing experience and the body looked great.

Normally the BlackTop Series comes with a 22 Fret Neck. My Neck, coming from my wine red MIM Standard only had 21. This however is not an issue, since the way Fender makes these 22 fret necks is by having a 'lip' for that last fret that sticks out past the neck, so that the length from Nut to Neck-Pocket does not change between 21 and 22 frets.
Left: 21 fret neck ; Right: 22 fret neck clearing showing the extra fret & lip overhang
 
Now I know I want maple on almost all my guitars, but to be honest I thought the Silver/Black/Rosewood combo show by the Pro Guitar Shop on their site looked pretty sharp too! And the sound kicks ass too! Maybe someday I'll venture back into 'rosewood' land. That, by the way, is the GREAT thing about these relatively cheap guitars and why I love Fenders: It is SO easy to change something out and try out something new. Whilst if I had a $3k Les Paul or something I'd be weary to even swap pickups (nor could you swap necks)! As I read in someone's signature in an online forum: "Just because I can afford a $5000 guitar doesn't make it a goo idea". Sure, I have my expensive guitar, and while that one does play the best out of any of my guitars, I seem to have more fun with the cheaper models because I like to tinker with them and don't worry about them getting dinged & scratched etc (not that I ever mean to.. I think 'relic-ing' is the stupidest thing going on out there right now... but that's for another discussion... )

The date on the actual neck seems to say 8 S.. .010. Based on other reports I knew the date was in Spanish, so the only month starting with an S would be September. So it would seem my body date is 8 September 2010 (or 18, or 28 but I can't tell if there ever was a number in front of the 8 because of a hole right there).


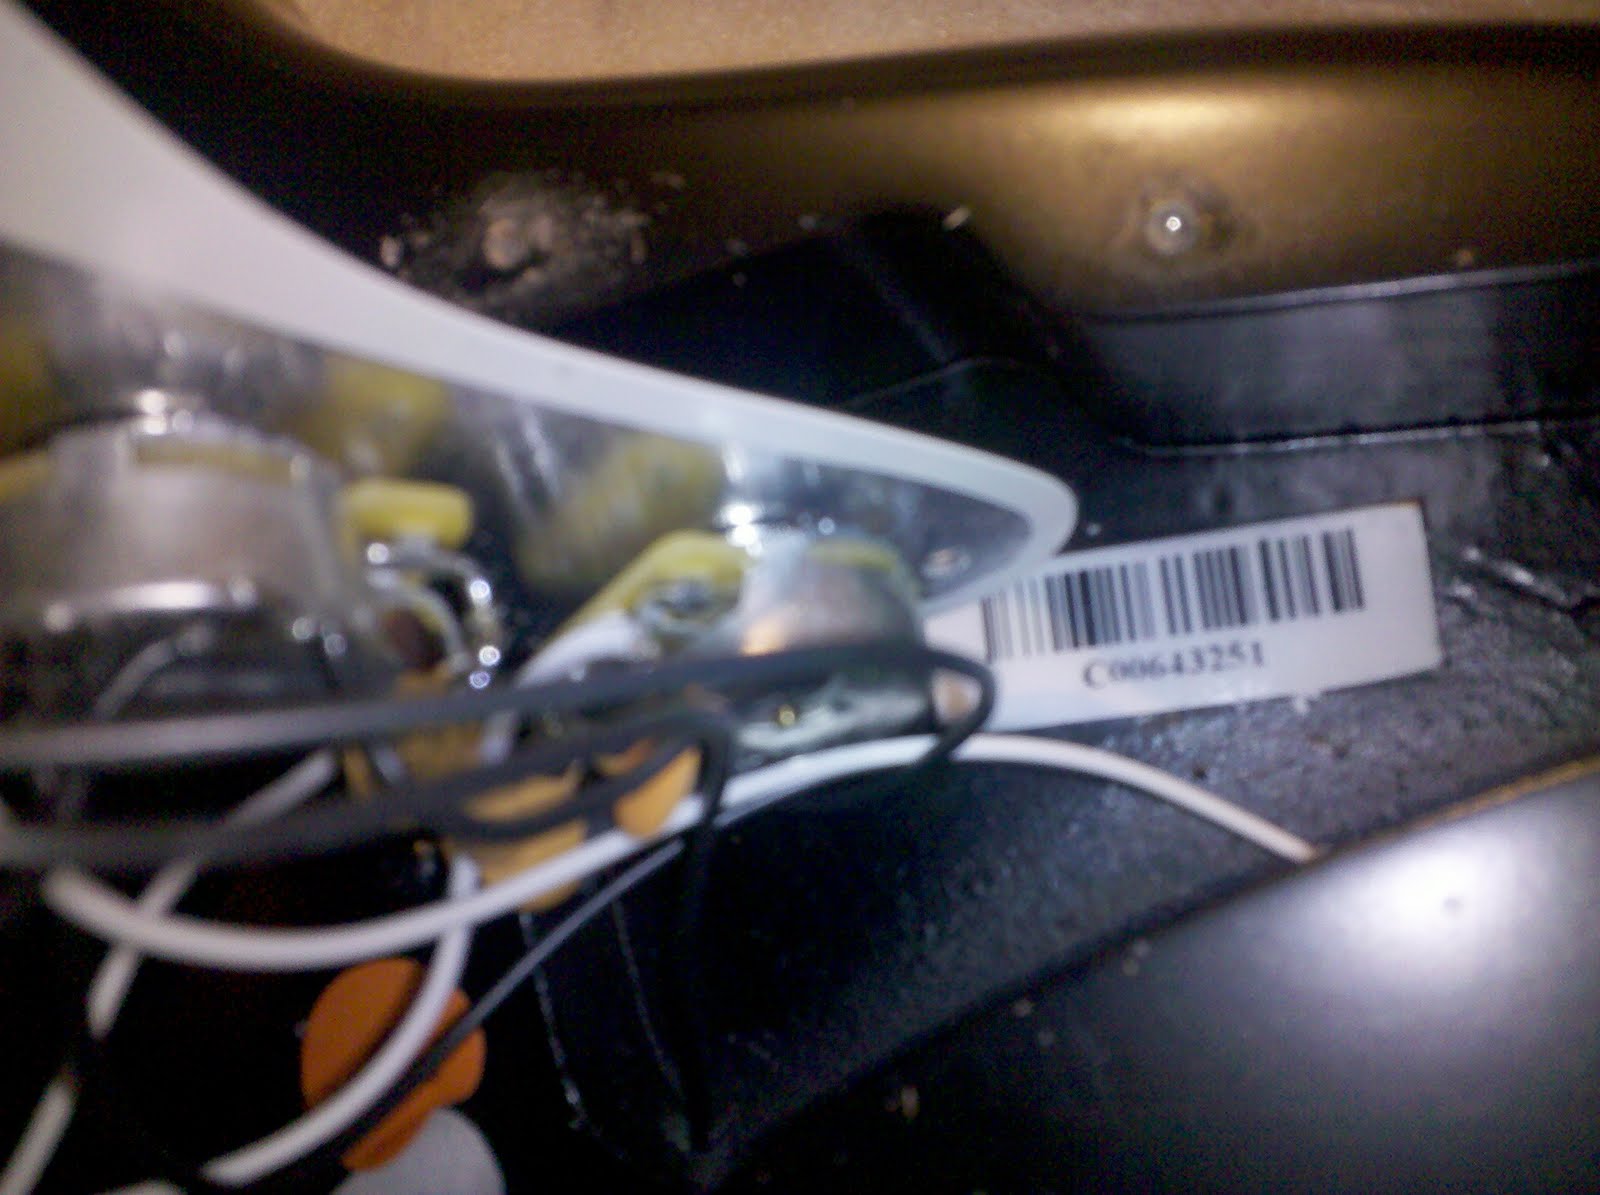
Also there's the 'mysterious' FPS stamp other people have mentioned online , with no one knowing anything really about it, though people seem to gravity to the meaning of 'Fender', 'Poly' and 'Spray' as Initials describing the manufacturer and the paint/finish process. The 'serial' number or whatever it is, is almost impossible to read, but seems to say "9 268950" (not sure if there is/was a digit at the position of the space).

Once the neck was on all I could say was 'WOW'! This is one sharp looking guitar! At first I had my reservations because of the 'flipped' control plate and 'amp'-like Volume & Tone Knobs. But seeing it all come together like that REALLY makes this guitar look amazing.


While I was contemplating going with some 0.010's I figured I'd try the 0.009's instead since I had like 10 triple packs laying around of those and since I don't change my strings every week it was about time some of them got used. I could instantly tell the 'cheaper' bridge on this vs my other MIM telecaster. The bridge saddles with their adjustment screws sticking out were already digging into my hand. Obviously I'll have to adjust them or swap them out for a little shorter ones because there's no need for these to be sticking out like a 1/8" of an inch above the saddle itself. (This is also one of my pet peeves with Les Pauls where the bridge just digs into your hand).

Playing the guitar I found the comfort 'belly' cut to be a nice feature, making it hang ever so slightly more comfortable. As I played through some basic chords etc I noticed that the tone knob seems to be a Log-Pot or something. Basically 1 = dark, while from about 2 or 3 to 10 it all sounds the same The Humbuckers give a nice full sound, although compared my Seymour duncans in my other Telecaster they seem to lack a little personality. This could be due to the fact I had to play quietly so I will update this after I've played the guitar a bit more extensively. Also ,  no big surprise here, I found the Standard Neck to almost be a hassle compared to my All-Parts TMO-V Neck. I can see why people like Eric Clapton swear by the V-Neck. It just seems SO much more comfortable, and if anything , I also find the 7.25" Radius to be  much nicer to play on than the standard 9.5. But overall it's a nice guitar - perfect to just throw around and have some fun on :)

Update: After playing for about 30 minutes on it at a much nicer volume all I can say is WOW this thing rocks! Definitely a darker sound than any of my other guitars (even the other humbuckers) , so forget super sparkling clean sounds, but fantastic for basic rock/blues & beyond! It certainly is a great addition to the collection!

Thursday, July 7, 2011

Rack & Effects Update

I was browsing online just to kill some time and feed my renewed interest in my guitars etc when I figured I should see what the 4th of July specials are on some of the online music sites. I've had a gaping hole in my rack setup since that is where I wanted a rack-mount tuner, but the way they are usually priced I figured this would be a few years out. I swing over to Guitar Center and what, much to my surprise, do I find on sale? A Behringer Rack-mount tuner (BTR 2000) for less than 90 bucks! Reviews were either so-so- or fine, so I figured I would just try it. Of course my Patchbay was Behringer too, so I figured at least they match too. For 90 bucks my expectations aren't that high so even if it tunes at least as good as my hand-held I'll be happy.


RACKTUNER BTR2000


Ultra-Flexible, Auto-Chromatic 2-Channel Tuner with Metronome and Integrated Racklight

  • Multi-functional tuner including built-in microphone for use with acoustic instruments
  • Useful metronome, adjustable from 30 to 240 bpm with audible and visual beat indicator. You can also work on-the-fly with the manual TAP tempo function
  • Integrated, switchable racklights with high-power LEDs for absolute control over your rack gear
  • 11 different tuner modes (e. g. "chromatic", "banjo" or open tunings) based on 12 equally tempered tones
  • Manual or automatic A-tone standard pitch calibration from 428 Hz to 452 Hz in 1-Hz increments, transposable by a maximum of ± 7 semitones for especially flexible tuning
  • Adjustable resolution of the LED bar (5 Cent/LED vs. 1 Cent/LED) enables precise tuning up to the cent, which allows for user-defined tuning systems
  • Two separate input channels accessible via front and back connectors (controllable via optional footswitch)
  • Additional 1/4'' TS output for metronome click/reference tone - perfect for monitoring and practice applications
  • True hardware bypass for highest signal integrity between input and output
  • Practical Mute function for direct signal muting during tuning (controllable via optional footswitch)
  • High-quality components and exceptionally rugged construction ensure long life
  • Conceived and designed by BEHRINGER Germany


    Now of course there's always the incentive to shop more.. "oh spend only $10 more and get free shipping". What else do I need? Well not much really... What else do I WANT though? LOTS of stuff!
    As I was going through things in my head I actually was reading back on my post about my effect pedals. One thing I always wanted to add was a Compressor/Sustainer unit. So after searching on the site I found they had a nice MXR model (M-132) compressor and the BOSS CS-3 Pedal.  Since i have a 'fondness' of Boss Pedals I went with the BOSS CS-3 even though it was slightly more than the MXR pedal.

    BOSS CS-3: Compression Sustainer


    The CS-3 Compression Sustainer pedal compresses louder signals while boosting lower signals, providing smooth sustain without degrading the original sound quality. This is the perfect pedal for guitarists and bassists who want to sound their best.

    • Compact compression/sustainer pedal with high-quality circuitry
    • Compresses loud signals and boosts softer signals for a smooth overall sound
    • Onboard Level, Tone, Attack and Sustain controls for precise tonal shaping
    • Low-noise design for super-quiet operation
    • BOSS 5-year warranty

    I'd say that's a pretty good score for around $200.
    As far as getting it into the rack, I 'm still torn on where exactly to put it..
    My Initial setup was from Top to bottom: Power, PatchBay, Tuner, Reverb
    Then I switched it to: Power, Tuner, PatchBay , Reverb

    Please don't mind this horrid Cell Phone Picture of 'The Rack'..

    Reason being is that the Tuner is actually not flush, but curved outwards and has lights underneath it. This makes it look awkward when it's lower in the rack. While the 2nd layout is better and 'logically' I like having the power all the way on top, but now I think I will change it again to: Tuner, Power, PatchBay, Reverb. That way the curvature of the tuner won't get in the way of anything and it just 'flows' a little bit better.

    Much Better!
    You can also see I have some speakers on the bottom shelf which are hooked into the patchbay which is a very convenient way to hook up my MO8 synthesizer.