
I started out with the tremolo cover on the back. The original was an 'off white' (wonder if this is what they call 'parchment') and was 1 ply, but had no beveled edges giving it a '25 cent afterthought' look. I simply took the screws out, put the new cover in place and put the screws back in.
 |
| The Stock Tremolo Cover |
 |
| Work in Progress |
 | ||
| 1 Ply & Beveled Black Matte Cover |
Next was the front. I had done this kind of tear-down many times before on my old Squier Strat so It was an easy job I did over lunch-time. First I simply took off the 5-Way Switch Knob, and the Volume & Tone Knobs. Some of them were a little stubborn so they needed a little convincing. I wasn't going to re-use them , nor could I get anything thin enough under them (like the common plastic bag or shoe string trick) because they were so low, so I simple grabbed them firmly with some pliers and off they came (and surprisingly with no damage what so ever ;) )
Then it was on to the 11 pickguard screws. If I didn't already have carpal-tunnel this would surely give it to you! (then again I was using a small screwdriver vs say an electric one because I wanted to make sure there were no slips of the tool causing scratches etc). I lifted up the pickguard to take a look under the hood. There was some kind of writing on the pickups (72706 or something) that I couldn't quite decipher. There was a lot more shielding in the stock pickguard than the new Warmoth one, but I figure I'll try it out and if it hums too much I'll simple add some shielding on the back of the pickguard at that time.

There also was a bar code in the body with "C00643251" stamped on it. Not sure if this is the serial number or model or what else.
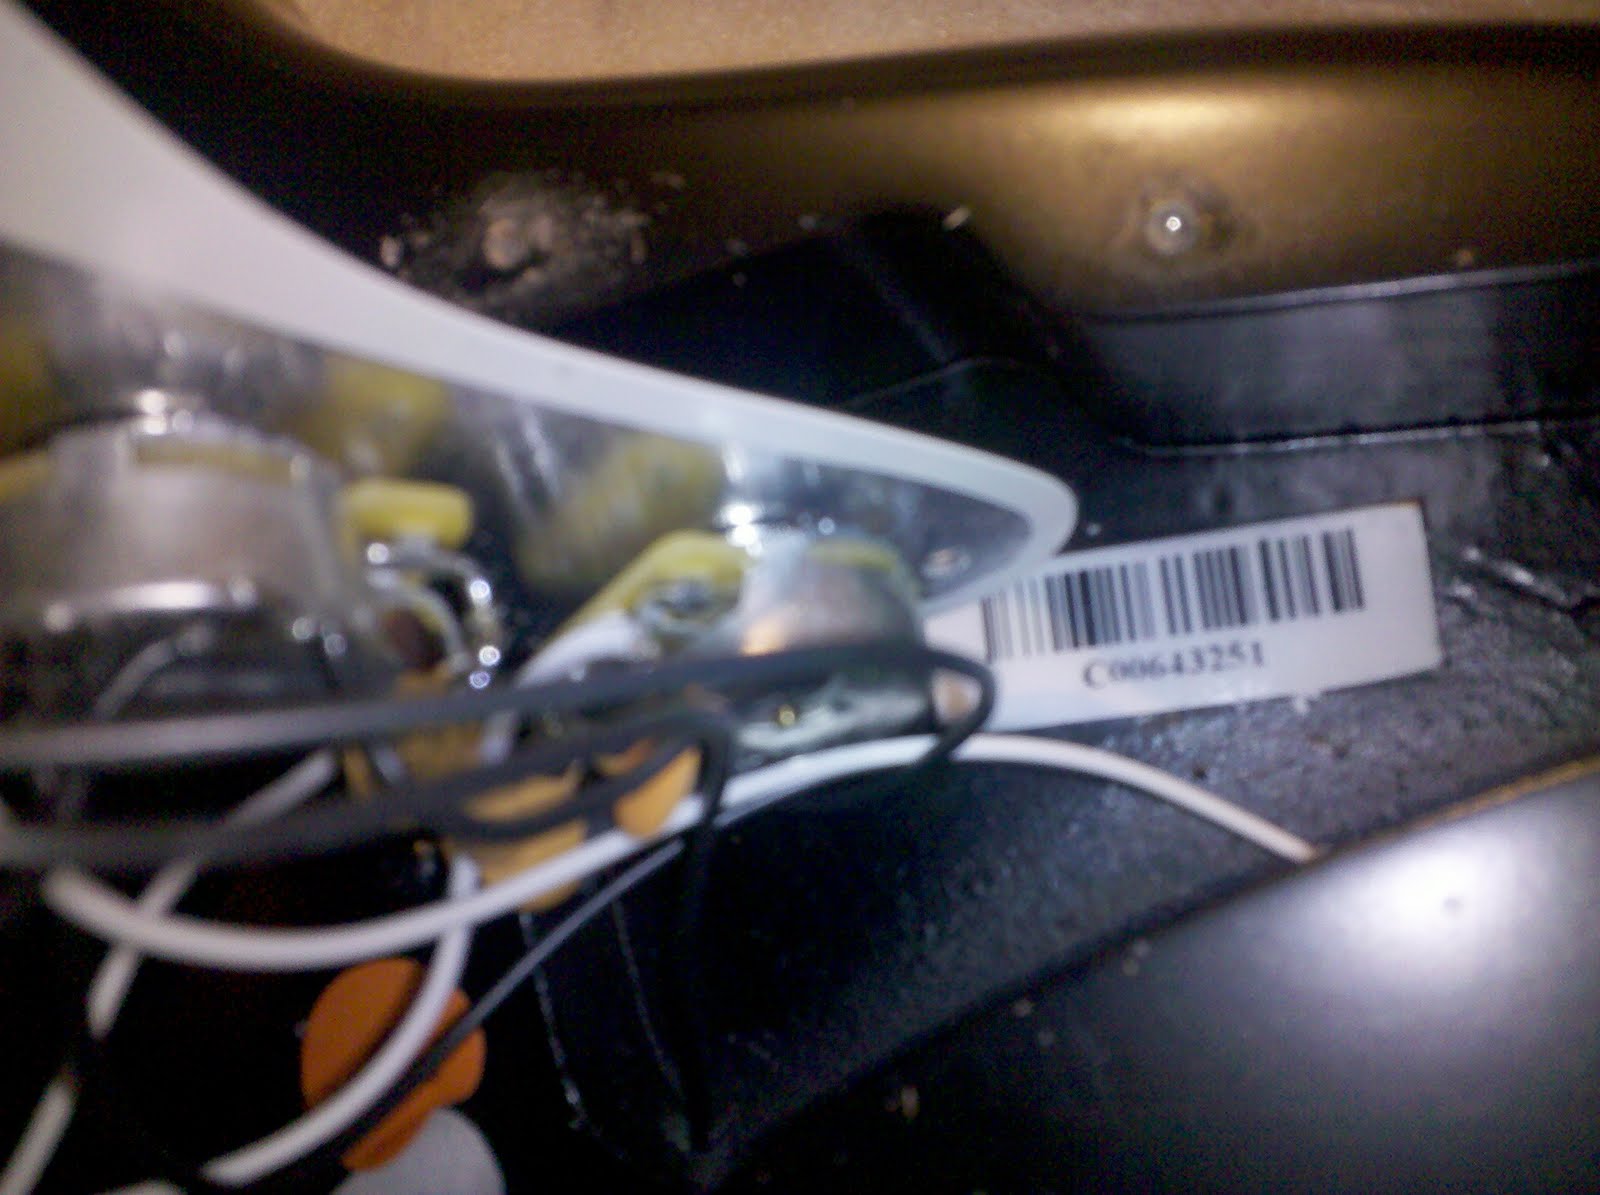
Then I simply proceeded to disconnect everything from the pickguard until I was left with just the body & electronics as shown here.

After this I simply swapped the pickup covers and started to re-assemble everything in the reverse order of how I had just taken it apart , but on to the new black 1-ply beveled pickguard. A few minutes later I was looking at this beautiful 'stealthy' looking guitar


Now I just need to wait for Brian Mason of Mason Custom Guitars to get back to me on the Neck so I can wrap this build up!
brilliant - I'm doing a blackout on my blk hwy 1/maple as well. a rare thing to do and so stealthy as you say. panther style!
ReplyDeleteCould you tell me where you bought your flat black pickguard screws?
ReplyDeleteI bought the black screws from Warmoth together with my pickguard; See here:
ReplyDeletehttp://www.warmoth.com/Pickguard-Screw-Dozen-Black-P102C842.aspx
As you can tell they're not super glossy (though not officially matte either)